Choose options
Free shipping
On all orders over $500
Lowest Price Promise
Found a competitor with a different price? Consider it matched.
Simulator Experts
Talk to a pro. We'll help you through every step of choosing your simulator.
- Description
- Specifications
- What's Included?
- Installation Guide
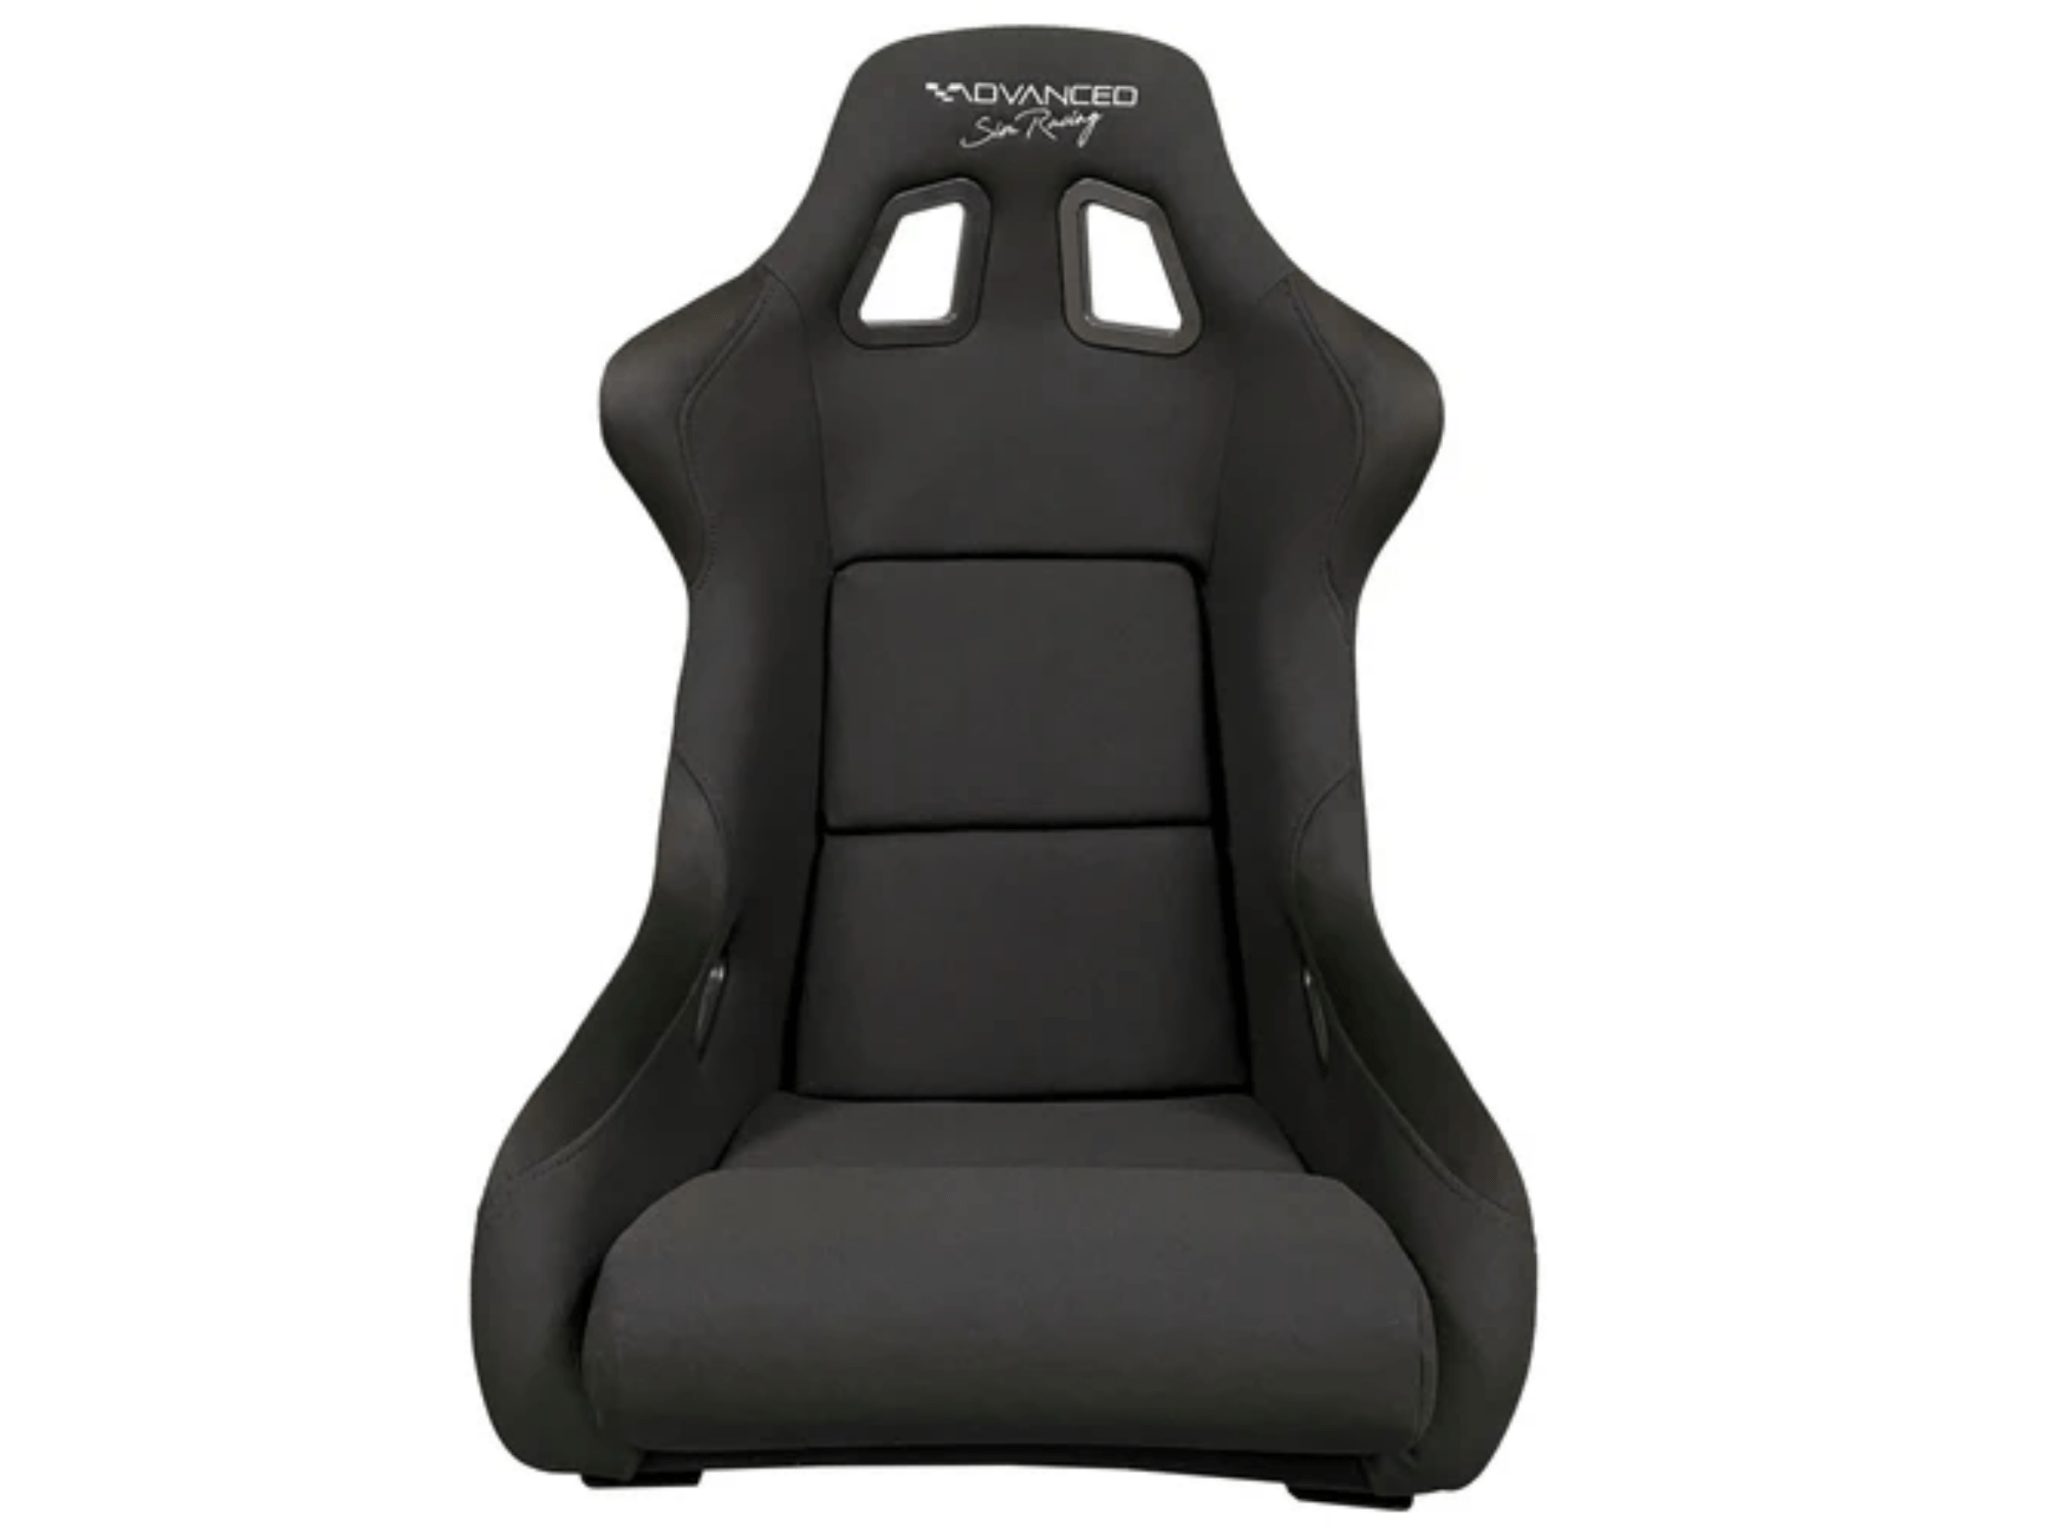
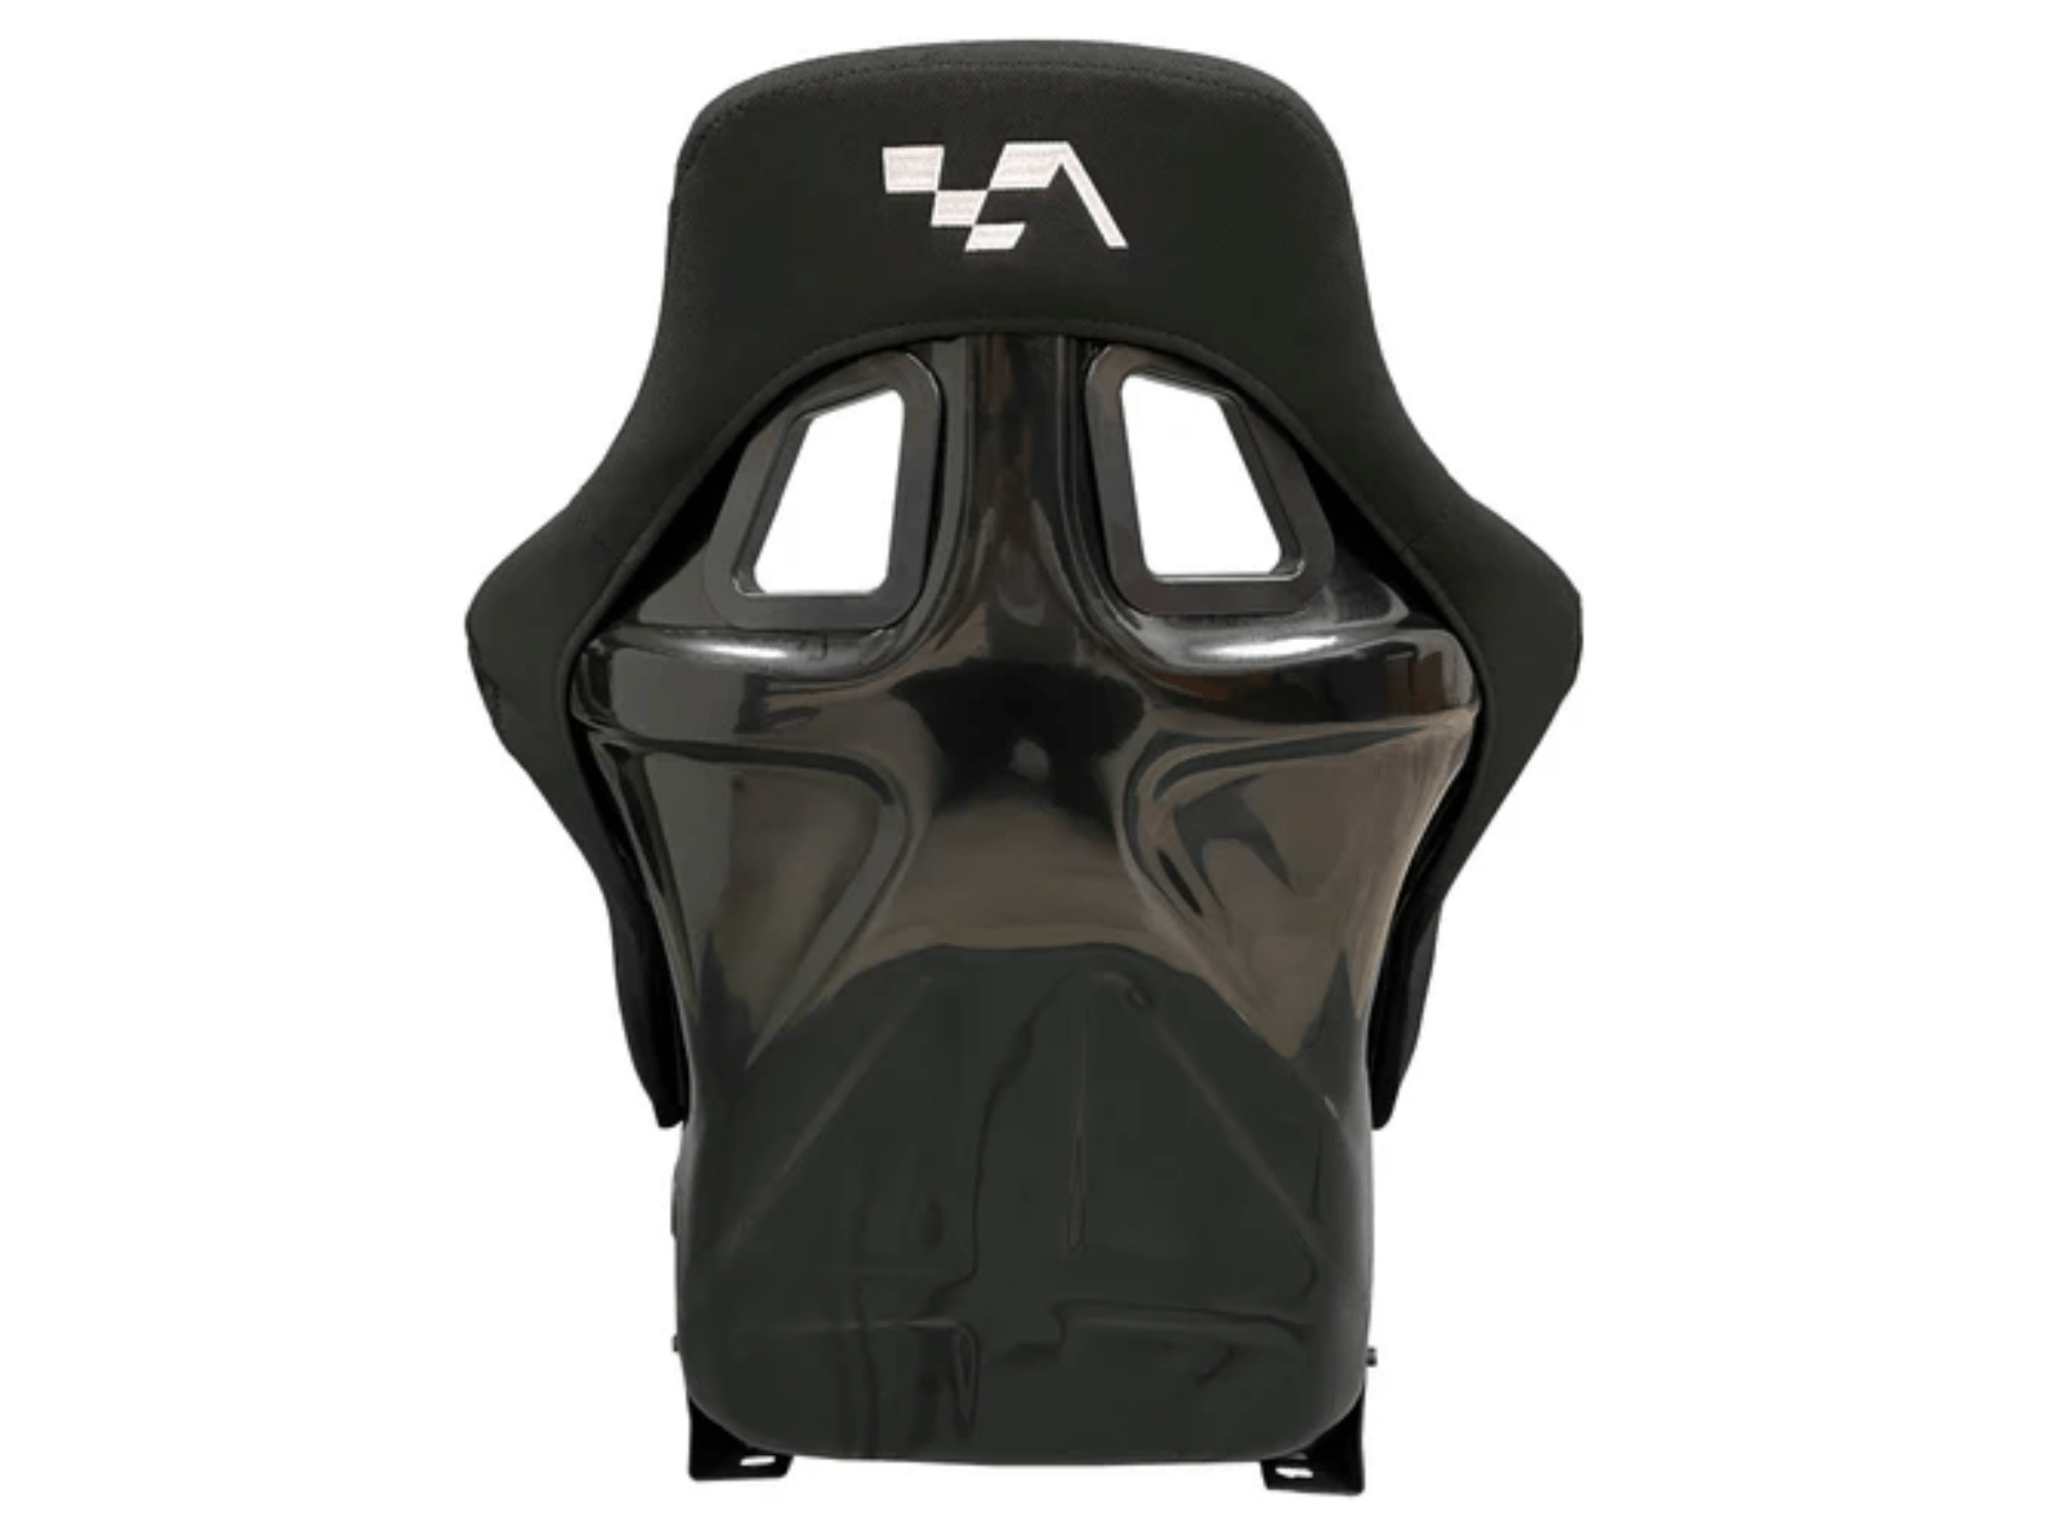
Want to feel like you’re really racing without leaving your home? The Advanced Bucket Seat from Advanced Sim Racing is built to give you the ultimate racing experience, all from the comfort of your own setup. Made with high-quality fiberglass, this seat is designed for both performance and comfort, supporting your entire body during those long racing sessions.
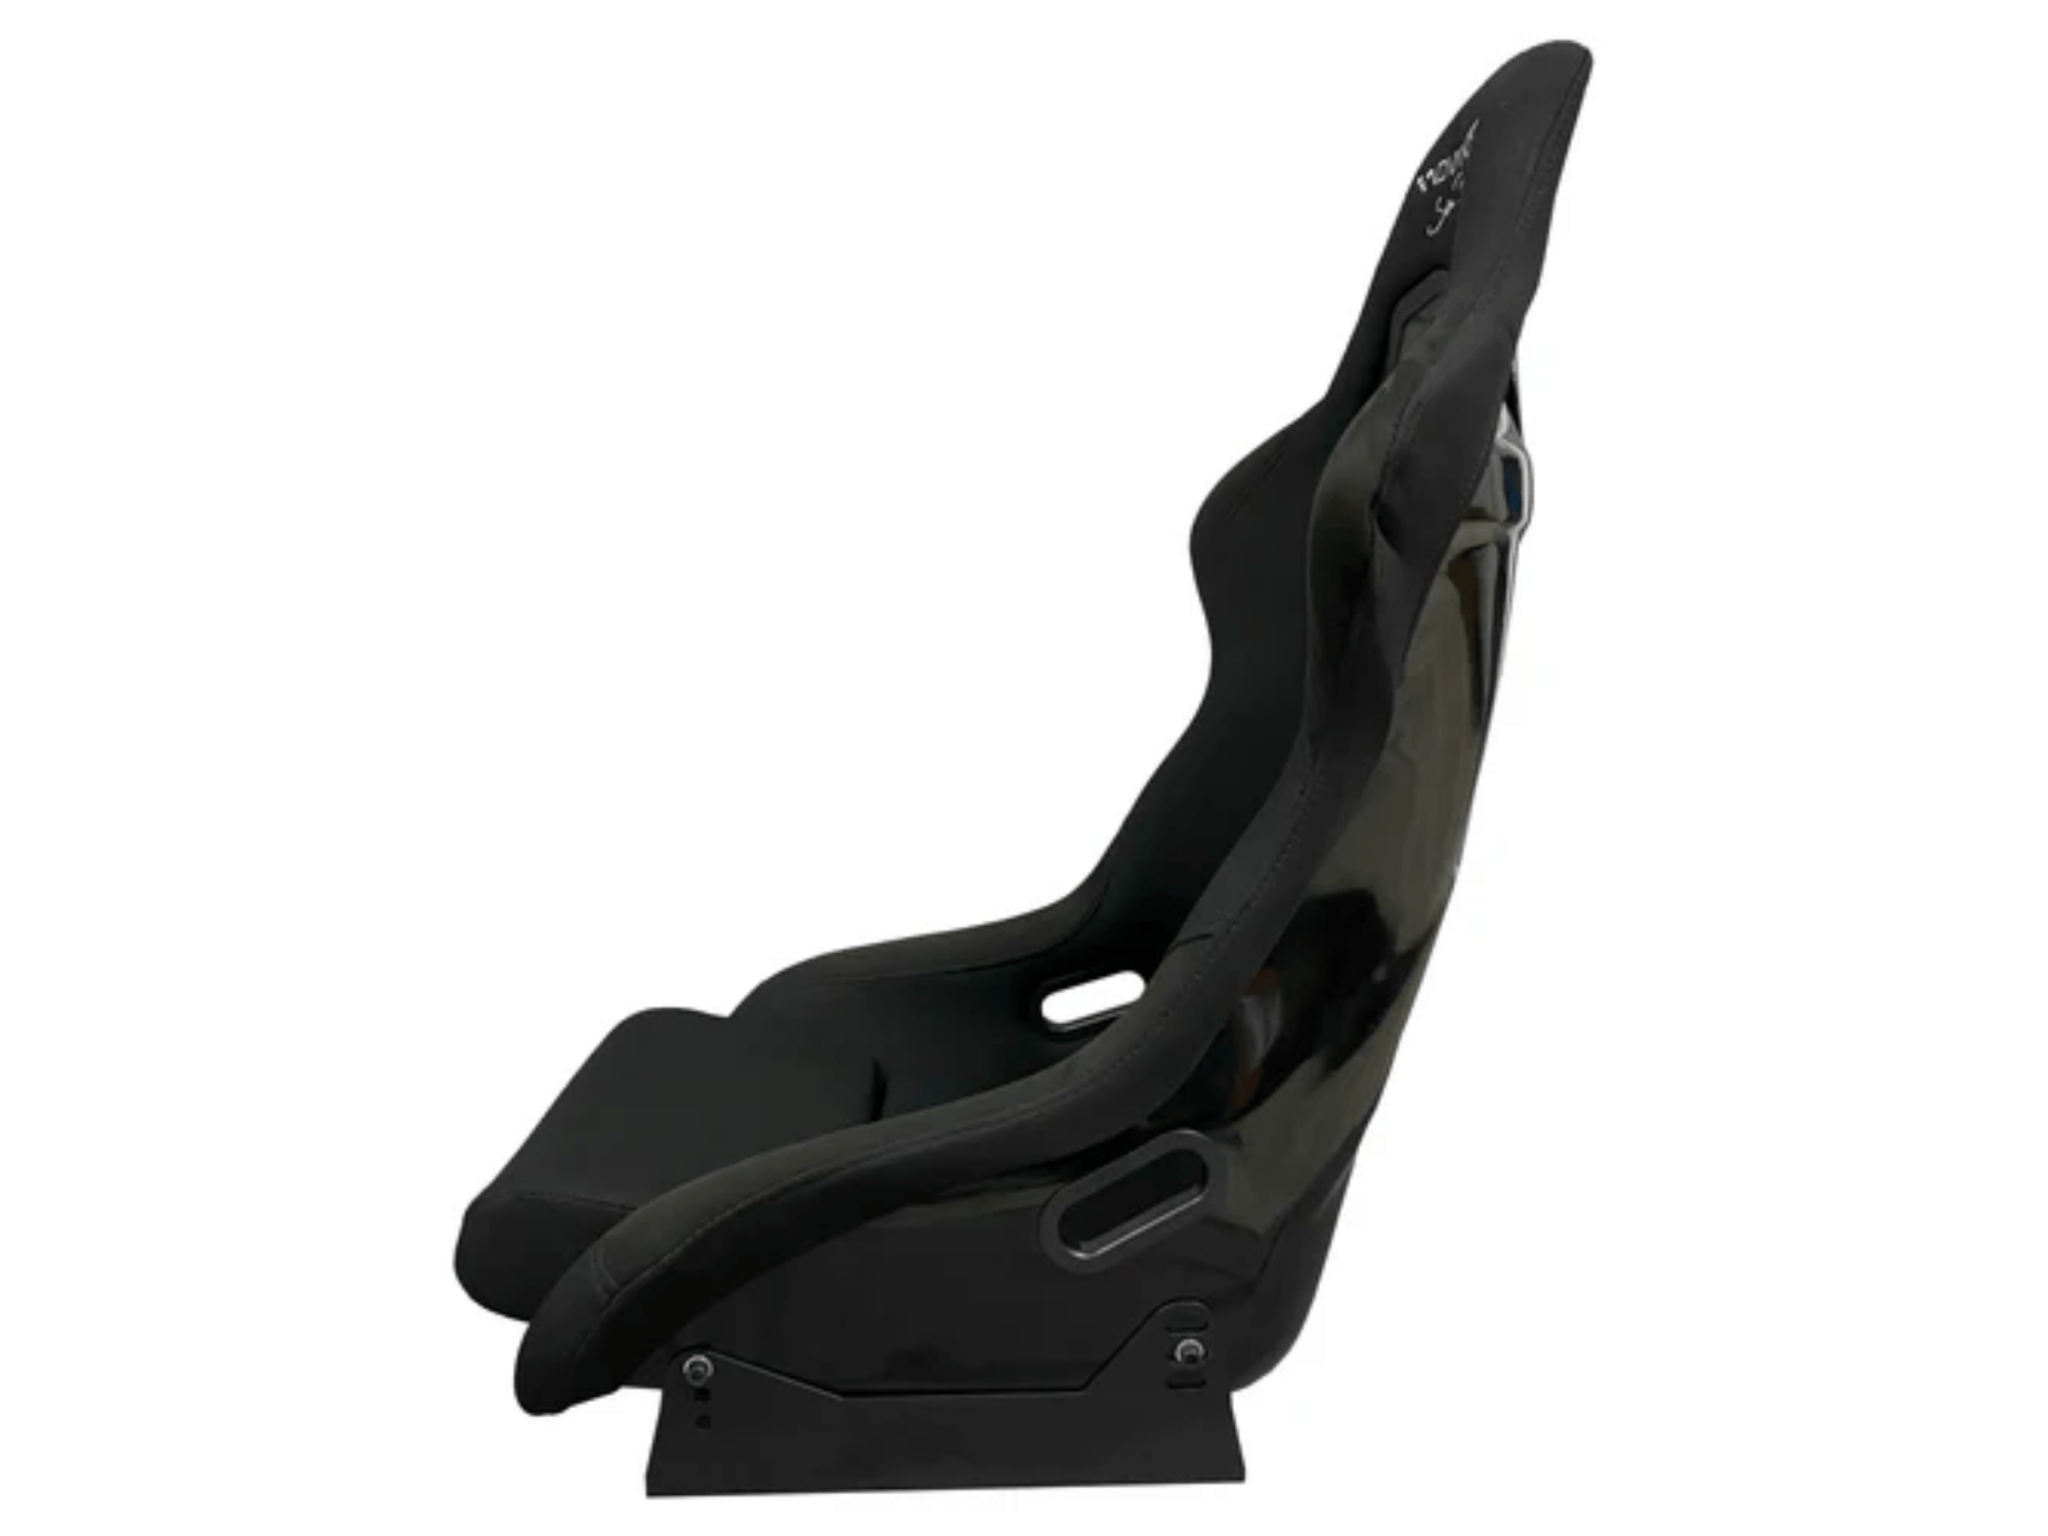
The seat comes with removable padding, so you can adjust it for the perfect fit. Plus, its breathable material on the front keeps it durable and comfortable. It’s easy to mount on your Advanced Sim Racing chassis with the included side brackets. The sleek black design with white stitching and the official Advanced Sim Racing logo on the headrest adds a premium touch to your racing setup.
Get ready for the most realistic racing experience with a seat that’s built to perform and last!
Large:
- Seat width (shoulders) : 21"
- Seat width (lower back) : 14"
- Seat width (thighs) : 16"
- Back rest (vertical, from top to bottom) : 35"
- Back rest (horizontal at shoulders height) : 25"
- Seat length : 23"
Medium:
- Seat width (shoulders) : 19"
- Seat width (lower back) : 12"
- Seat width (thighs) : 15"
- Back rest (vertical, from top to bottom) : 35"
- Back rest (horizontal at shoulders height) : 23"
- Seat length : 22"
- Box 1 - 22" x 22" x 38"
- 1 x Advanced Bucket Seat
- 2 x Side mounting brackets
Without Seat Sliders
- Tighten the bolts holding the corner gussets to the 22" profile, but leave the bolts attaching the 22" profile to the chassis loose.
- Install the seat brackets on the 22" profile. Make sure the inside edge of the seat bracket is flush with the inside edge of the 22" profile, then tighten the bolts holding the seat brackets.
- Install the seat in the brackets, being careful not to scratch it. If necessary, slide the 22" profile further apart.
- Tighten the seat brackets to the seat in the desired position. Ensure you are using the same mounting holes on each side.
- Make sure the space between the 22" profiles and the base is equal on each side to center the seat with the chassis. It is okay for the 22" profiles not to be parallel with each other, as long as the seat is centered and straight.
- Your rig is ready to go!
With Seat Sliders
- Install the 22" profiles on the chassis and tighten the bolts holding the corner gussets to the 22" profile, but leave the bolts attaching the 22" profile to the chassis loose.
- Install the seat sliders on the seat brackets, ensuring the inside edge of the seat slider is flush with the inside edge of the seat bracket.
- Install the seat slider and seat bracket assembly on the seat while it is off the chassis. Be sure to use the same mounting holes on each side and be careful not to scratch the seat.
- Ensure both seat sliders are at the same locking position.
- Bend the U handlebar for the seat sliders to make it wider or narrower depending on fitment.
- Install the U handlebar while being cautious not to hurt your fingers.
- Install the seat assembly onto the 22" profiles.
- Tighten both front or rear bolts holding the sliders onto the 22" profile.
- Slide the seat forwards or backwards to access the other bolts and tighten them.
- Center the seat with the chassis by moving the entire 22" profile and seat assembly, being careful not to scratch the profiles.
- Tighten the corner gusset bolts that were left loose at the beginning.
- Your rig is ready to go!