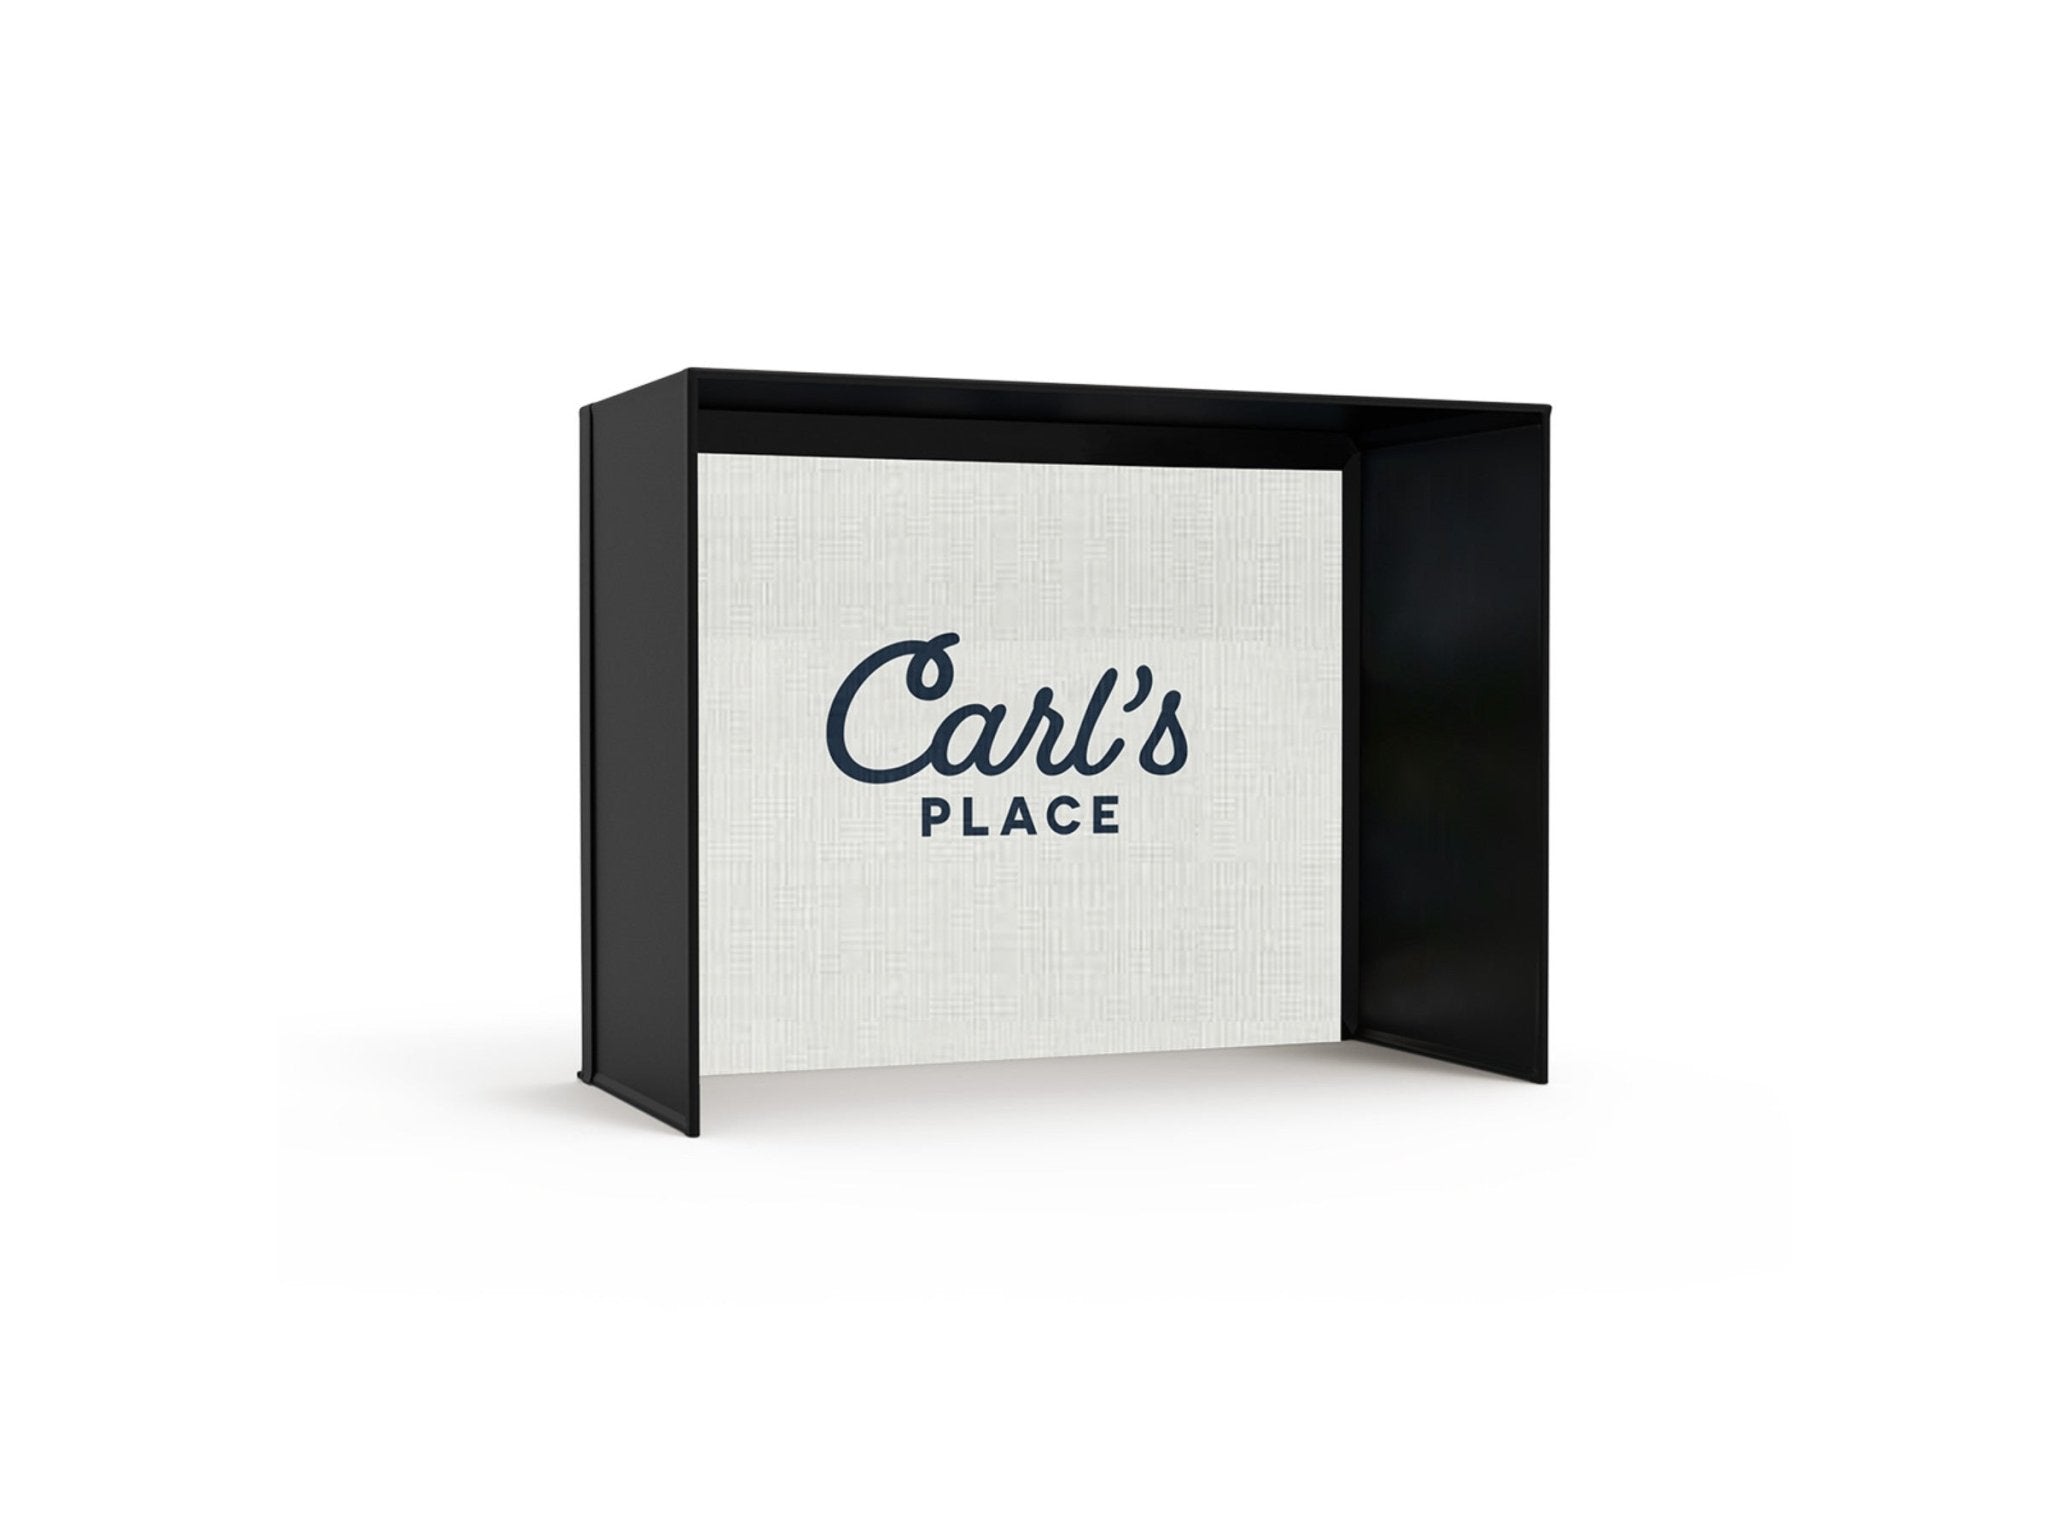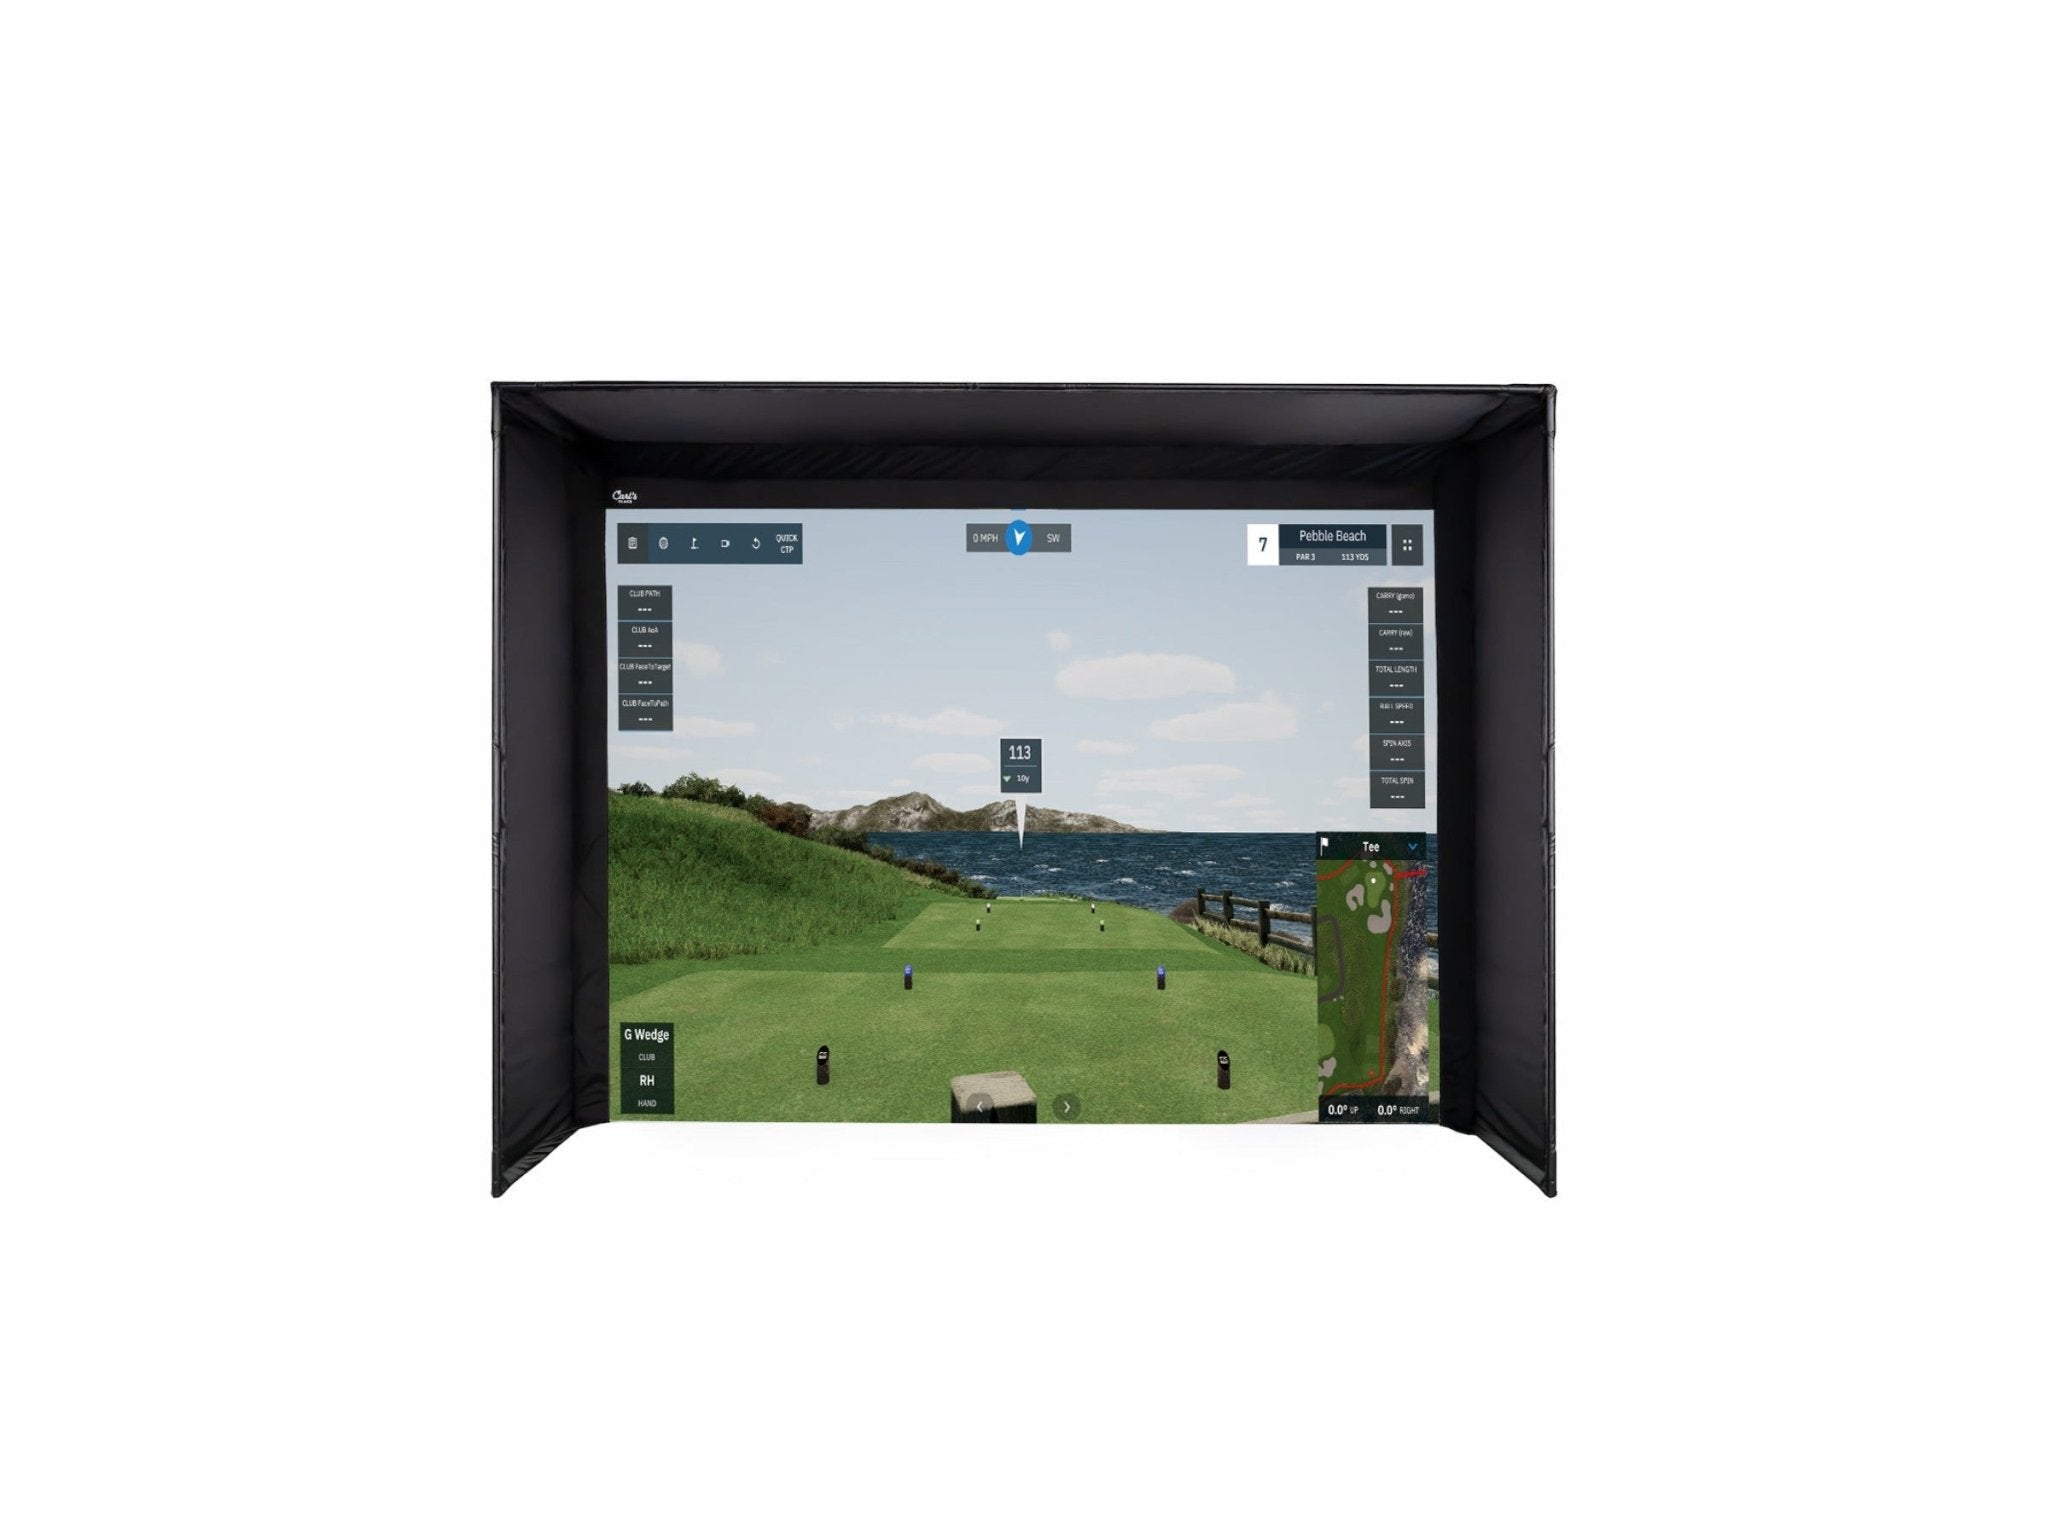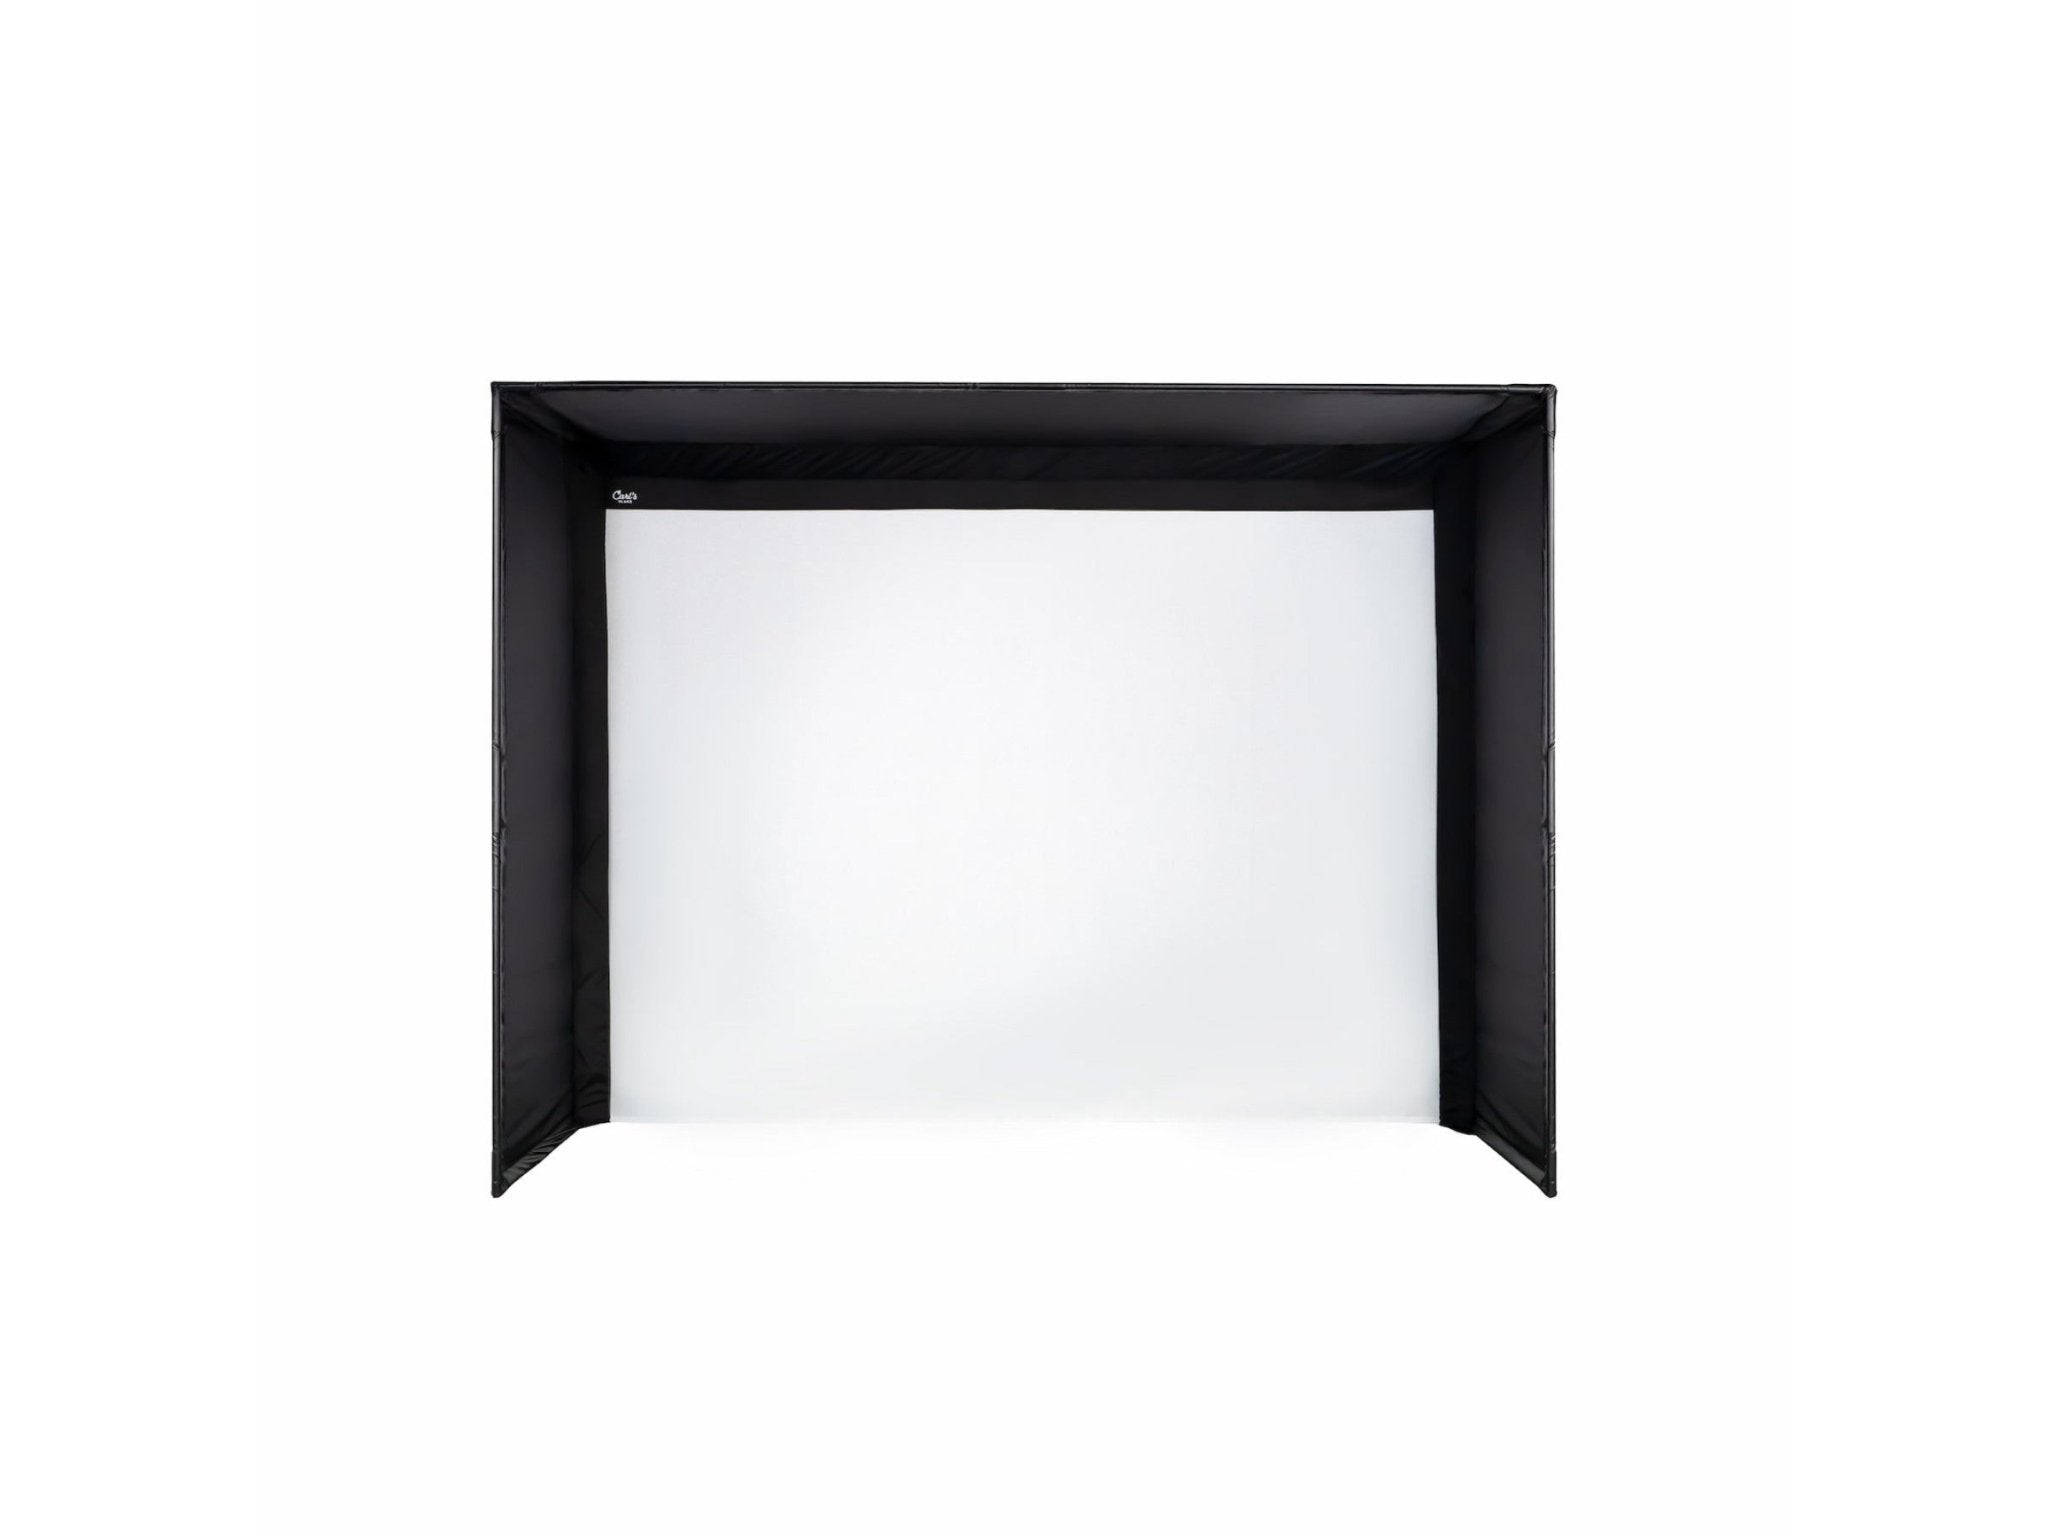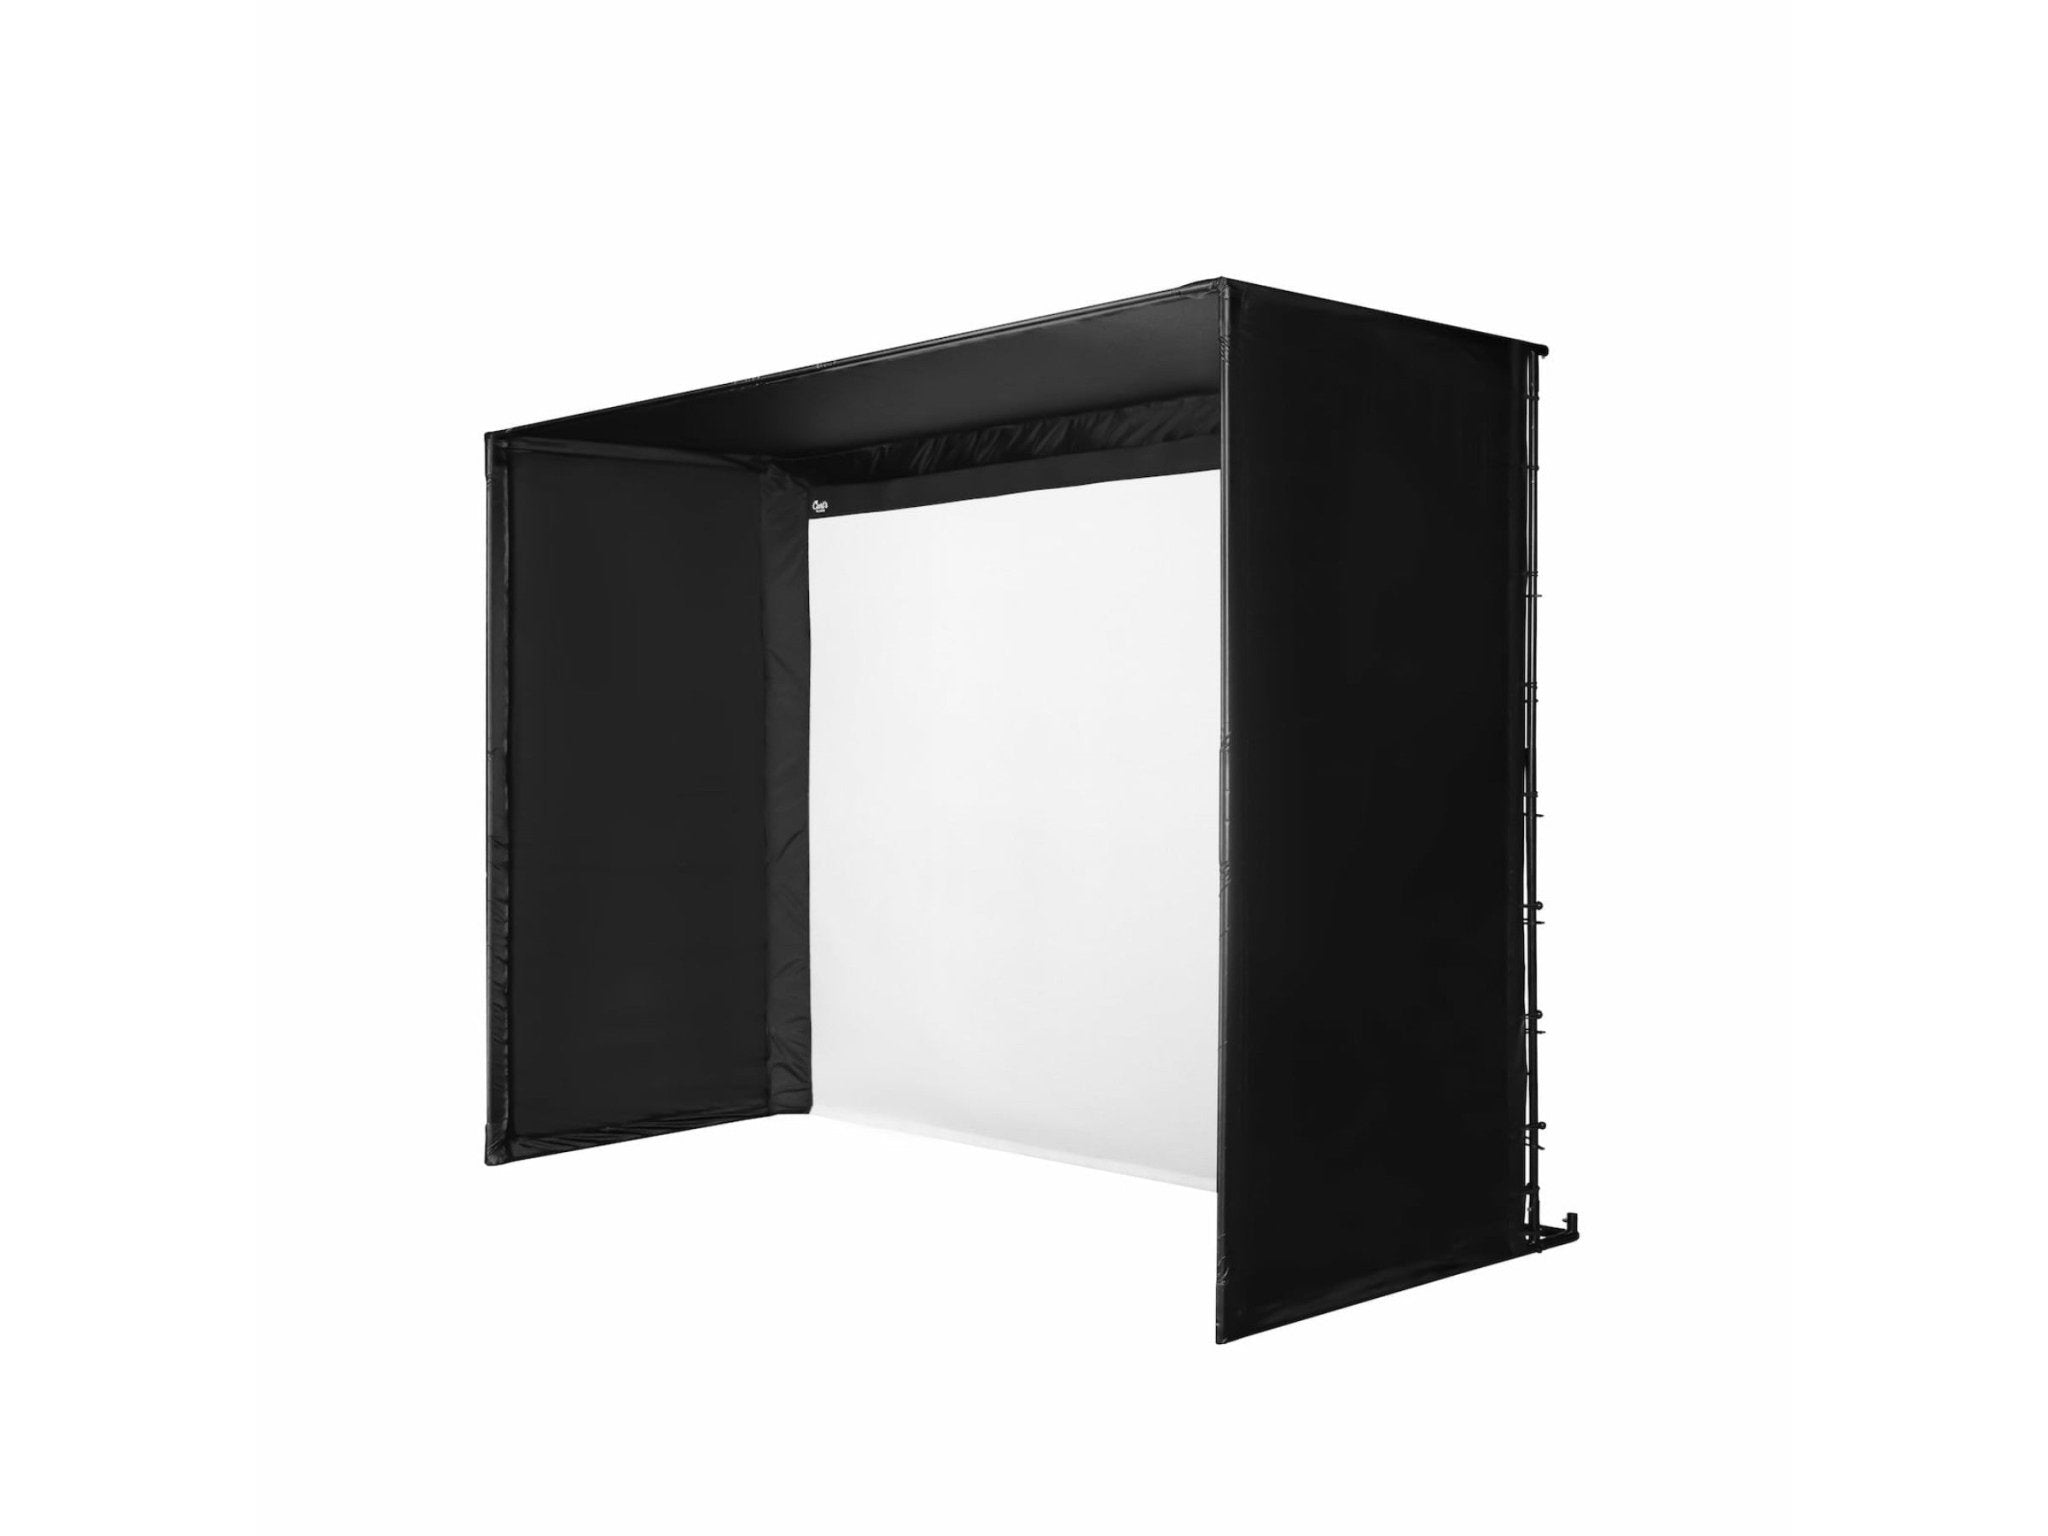


Carl's Place DIY Golf Simulator Enclosure Kit with Impact Screen

Choose options


Free shipping
On all orders over $500
Lowest Price Promise
Found a competitor with a different price? Consider it matched.
Simulator Experts
Talk to a pro. We'll help you through every step of choosing your simulator.
- Description
- What's Included
- Resources
- Frequently Asked Questions
If you've been looking for a way to enjoy golf from the comfort of your own home, you're in luck. With the DIY Golf Simulator from Carl's Place, you can now turn any room into your own private course.
These kits feature a high-quality impact screen that lands at the floor perfectly and are made from durable nylon that gives the enclosure a clean, polished set up. Multiple sizes are available, but if you need a custom option, reach out! We'll customize this package right down to the inch.
The DIY kit gives you the option to add your own pipes, but if you don't want to DLY (do-less-yourself), just add the Pipe Framing Kit onto the package for a complete, hassle-free kit.
Your Choice of Impact Screen: Select from Standard, Preferred, or Premium screens, each is designed to deliver minimal bounceback and a seamless floor-to-turf image. Not sure which one to choose? See our FAQ section for making the right choice!
Black Nylon Enclosure: Nobody wants golf balls hitting their wall. Which is why every DIY Kit comes with an enclosure made from tough nylon. It also shades your screen so you have vibrant visuals.
Steel Fittings: The DIY Kit includes corner fittings to connect your pipes (pipes sold separately).
Ball Bungees and Zip Ties: We provide all the fasteners you need to set up your enclosure and screen with ease. This includes zip ties and 6" ball bungees to attach the screen securely to the frame. Plus, we include extras so you can fine-tune the tension to suit your swing style. Adjust the setup based on your hitting distance, ball speed, clubs, and spin rates to achieve the ideal balance between tension and slack.
Documents
✓⃝ Carls Place DIY C-Series Enclosure Kit Assembly Instructions & User Manual.pdf
✓⃝ DIY C-Series Materials List.pdf
✓⃝ DIY Golf Simulator Enclosure Kit Specifications.pdf
✓⃝ 7.7x10x5 DIY Enclosure Diagram.png
✓⃝ 7.7x13x5 DIY Enclosure Diagram.png
✓⃝ 8.5x11.5x5 DIY Enclosure Diagram.png
✓⃝ 8x10.5x5 DIY Enclosure Diagram.png
✓⃝ 8x8x5 DIY Enclosure Diagram.png
✓⃝ 9x12x5 DIY Enclosure Diagram.png
Videos
How do ball bungees work?
Ball bungees, along with reusable zip ties, are used to securely attach screens and enclosures to the frame.
Steps to attach ball bungees to Carl’s Place golf impact screens:
- Insert the looped end of the bungee into a grommet from the back side of the screen.
- Pull it through until the toggle ball rests against the back of the grommet.
- Stretch the cord over and around the frame or pipe.
- Hook the cord over the toggle ball to create a secure loop.
What pipes are needed to build the enclosure frame?
DIY Golf Simulator Enclosures require 1inch EMT (Electrical Metal Tubing/Conduit). For convenience, we recommend adding a Pipe Framing Kit to your order to receive precut, precisely sized pipes. Alternatively, you can source the EMT locally. The kit will include detailed instructions on the pipe lengths and quantities you’ll need.
How long does it take to assemble the enclosure?
Assembly time for DIY Golf Simulator Enclosure Kits is about an hour, depending on the size of the kit. Enlist a helper to speed up the process! Check out our assembly video and manual for step-by-step guidance.
What are EMT pipes?
EMT stands for Electrical Metal Tubing or Electrical Metal Conduit. On our website, we often refer to these as "pipes." EMT is required to construct the frame for your enclosure or screen.
Note: PVC pipes will not work with our fittings.
Options for sourcing EMT pipes:
- Add a Pipe Framing Kit when purchasing your enclosure (listed as an accessory for DIY and Pro Enclosure Kits).
- Source EMT pipes locally from a hardware store.
- DIY Enclosures: Use 1″ EMT.
- Pro Enclosures: Use 2″ EMT, which may be harder to find—ensure you have a source before opting out of the Pipe Framing Kit.
Where and how should I mount my projector?
The size and mounting distance of the projector depend on its specifications. Use our Screen Size Calculator to find the optimal mounting location.
Mounting options for your golf simulator projector include:
1. Above the tee or mat: Mount directly above for a central image.
2. Flush mounted to the ceiling: Ideal for rooms with lower ceilings.
3. Drop mounted from the ceiling: Works well for spaces with higher ceilings.
4. Frame mounted: Attach to your Carl’s Place Pro Enclosure.
5. Floor mounted inside the simulator: Use a shortthrow projector placed on the floor. If choosing this method, ensure you have a protective cover to shield it from errant golf balls or clubs.
How far should I stand from my impact screen?
For safety, golfers should stand at least 1012 feet from the screen.
Can I iron or steam my golf impact screen?
We do NOT recommend ironing your screen due to the risk of damage. To avoid wrinkles:
- Unpack the screen immediately after delivery.
- If storing, fold it loosely to prevent creases.
If wrinkles have already formed:
- Mount the screen with tension using zip ties or ball bungees.
- Let it sit for a few days to allow wrinkles to smooth naturally.
- A consumergrade steamer with distilled water can also help.
Can I wash my golf screen material?
For cleaning instructions, visit our article: How to Clean Your Golf Impact Screen.
Are there safety concerns with golf simulators?
Yes, safety is key. To ensure safe use:
- Follow the assembly instructions included with your enclosure.
- Keep children, pets, and bystanders out of the swing area.
- Protect walls, ceilings, windows, and nearby property.
- Familiarize yourself with the Terms of Sale for Carl’s Place products.
Do I need a golf hitting mat?
A hitting mat provides a cushioned surface to stand and swing while protecting your joints. It also mimics real golf play, allowing you to tee up correctly and swing freely.
When choosing a mat size:
- A 4'x5' mat suits most golfers using a driver.
- Larger mats, like 5'x7' or 4'x9', accommodate wide stances or mixed left/righthanded use.
What is the difference between the DIY and Pro Golf Enclosure Kits?
DIY Enclosure Kit: An affordable, entry level option for building a safe golf practice space at home.
Pro Enclosure Kit: Designed for high performance, featuring wider and deeper bays, plus additional safety features. Ideal for commercial use.
Need help deciding? Contact us at (980) 270-1887
How big is the enclosure?
Refer to the Resources section for detailed frame dimensions.
C-Series Enclosures feature a backset rear fitting, creating an 8.25" deeper footprint than the listed size—perfect for builtin buffer space to protect walls.
How much space is needed for the enclosure?
When measuring your space, consider:
- Buffer zones: Keep the simulator away from walls and ceilings to prevent ball damage.
- Enclosure footprint: Account for builtin buffer space in C-Series designs.
- Safe distance: Stand 10-12 feet away from the screen for safety.
- Additional factors: Ceiling height, club length, turf thickness, and access to doorways.
What happens if the black enclosure material gets hit by a golf ball?
The black enclosure material isn’t intended to withstand direct golf ball impacts. However, balls that bounce off the white impact screen and hit the enclosure should not cause issues.
Can I replace the screen in my enclosure?
Yes! Replacement screens are available through our Customer Service Team. Contact us at (980) 270-1887.
What aspect ratio and screen size do I need for projection?
Aspect ratio refers to the image shape. Matching the projector, image, and screen ratios eliminates black bars.
- Common aspect ratios:
- 4:3: Tall and ideal for golf simulators.
- 16:9: Great for 4K/HD but requires more room width.
- 16:10: Rare but possible with specific projectors.
- 1:1: Square, nonstandard, and likely to show black bars.
Custom Options
Need a customsized golf simulator enclosure? Contact us to design one tailored to your space. Be sure to review our Returns Policy for custom orders.
Which Carl's Place golf impact screen is best for me?
For home users, the Standard Golf Screen offers the best value and is the most budget-friendly option. If you’re looking for enhanced image quality at an affordable price, the Preferred Screen is a great upgrade. However, the most popular and highest-rated product is the Premium Golf Screen, which features noise reduction to soften the sound of ball strikes and reduce bounce-back.
All of the Carl's Place impact screens support HD and 4K projection, provided your projector can output a native high-definition resolution. Standard screens have a more textured surface, which may slightly impact image clarity. On the other hand, Premium screens have an ultra-smooth surface, offering the sharpest and most detailed picture for your simulator.
| Standard Material | Preferred Material | Premium Material | |
| Why buy this projector screen material? | Best Value for Home Use | Better Image than Standard for Just a Few Extra Dollars, Home or Light Commercial Use | Top-Seller for Commercial, Coaching, Professional, and Home Usage |
| Image Quality | Good, and at this price, you will love it! | Smoother surface provides improved image quality | Thick, multilayer fabric with the tightest weave helps to provide superior image quality and reduce noise |
| Material Composition | 100% Heavy-Duty Polyester; Loosely Woven with an Open Weave | 100% Heavy-Duty Polyester with Silicone Reinforcement; Tightly Woven Knit | Thick, multilayer fabric with the tightest weave |
Which golf impact screen is best for HD/4K UHD images?
All Carl's Place screens support HD and 4K projection. However, the Premium Impact Screen will have the sharpest visual, with a smooth surface and minimal texture, ideal for high-definition displays.
